What Earthworms Can Tell You About Your Soil: A Simple Shovel Test
If you want a quick, honest read on what's happening below the surface of your orchard or vineyard floor, take out a shovel.
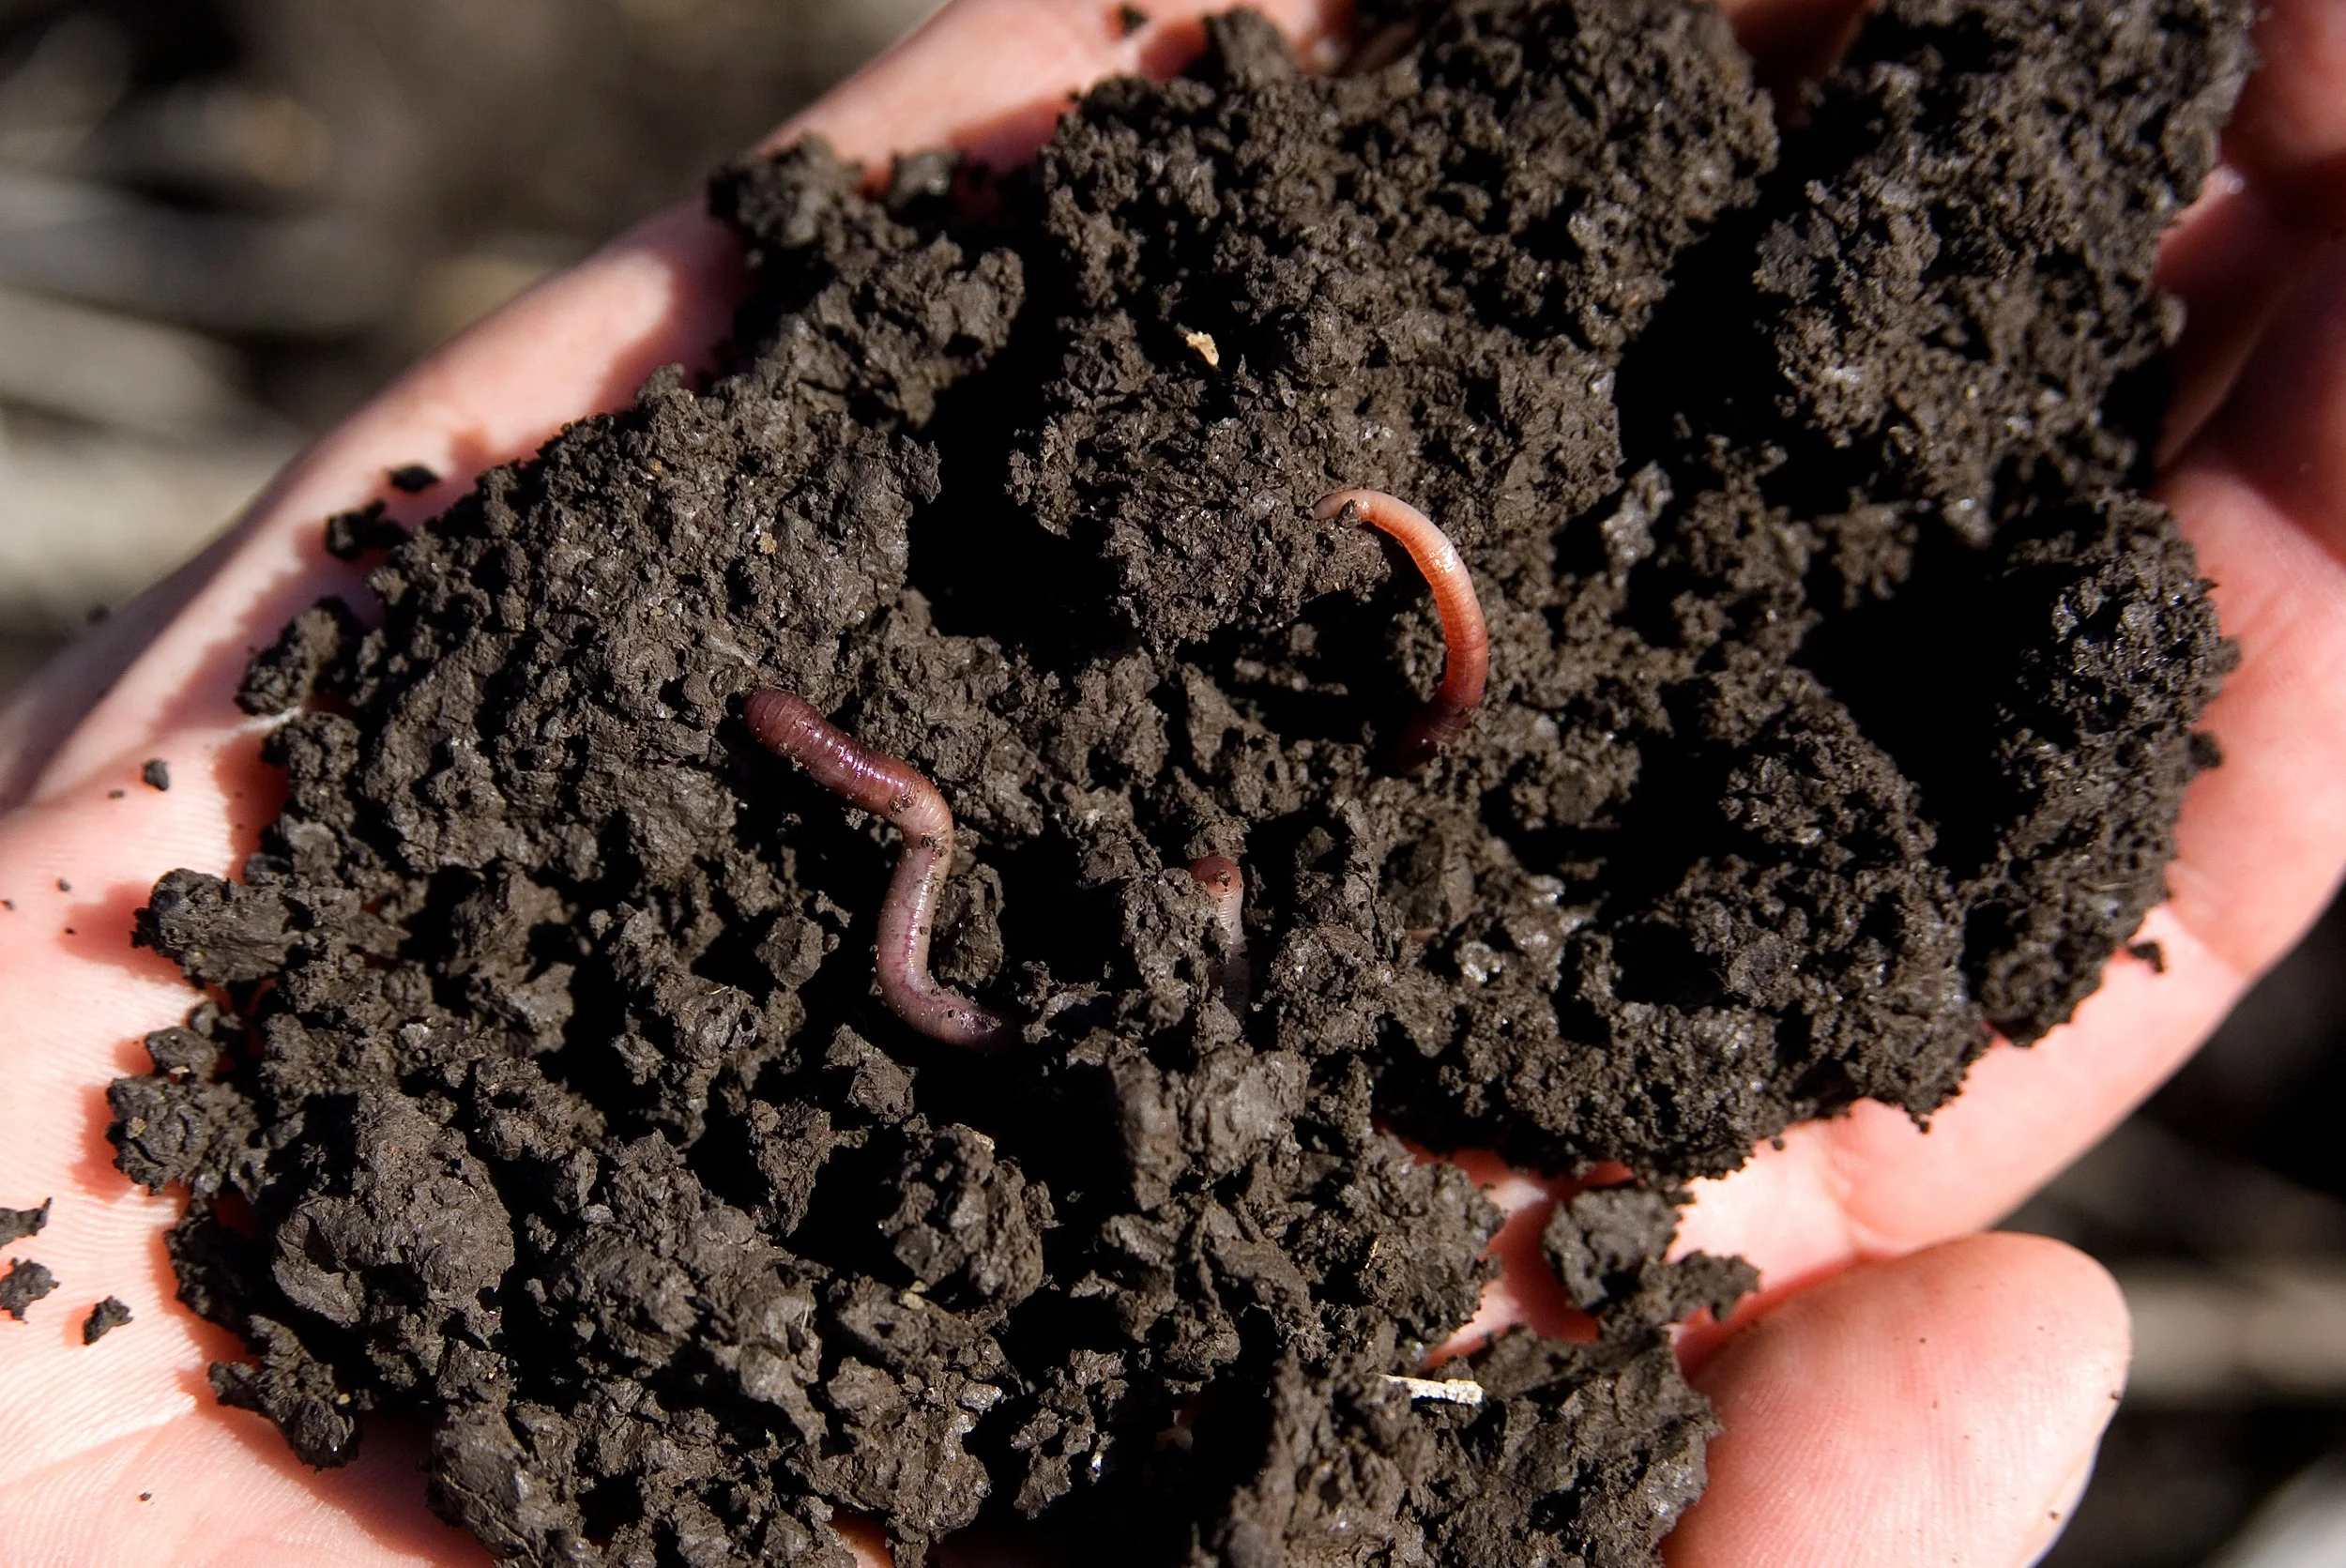
Earthworms are one of the most reliable, low-cost indicators of soil biological health we have. They need food, shelter, and a non-toxic environment. Whether it’s heavy tillage, bare ground, compaction, certain pesticides, or drought stress, anything that disrupts healthy soil conditions also impacts earthworm populations. When they're thriving, a lot of other things are usually going right. When they're scarce, that's a sign to dig deeper.
Why Earthworms Are a Good Proxy for Soil Health
While they go about their business, worms are doing real work. Their burrowing createsmacropores that improve water infiltration and root growth. Their castings areenriched in available nitrogen, phosphorus, potassium, and calcium compared to the surrounding soil. They pull surface residue down into the root zone, and the mucus lining their tunnels helps bind soil particles into the stable aggregates that give healthy soil its crumbly structure.
The Shovel Test: How to Do It
This is the assessmentNRCS,MSU Extension, and most soil health field guides recommend, because it's simple and it works. Dig one hole and count what's in it.
What you need: a sharp spade, a tarp or piece of cardboard, a notebook, and ideally a partner to help count.
When to do it: for California growers, the right window is late winter through mid-spring, roughly February through April. Our Mediterranean climate inverts the "spring or fall" advice you'll see in most national guides. By the time fall arrives, the soil may have been bone-dry for months and the worms are deep underground or dormant. You want to sample at theend of the wet season, when the top foot of soil is genuinely moist (not saturated, not powder-dry) and temperatures are in the 50–70°F range. TheUniversity of California's Yolo and Solano County tomato-system research used a February-to-April sampling window for exactly this reason.
Avoid May through October. You'll get a falsely low count because the worms have moved deep or estivated, not because they aren't there. And try to repeat your test in similar conditions year over year. A March count in a wet year compared to an April count in a drought year isn't really apples to apples.
The procedure:
Pick a representative spot: not the wettest corner, not the most compacted spot, not where amendments have recently been applied. Somewhere typical of the whole block.
Dig a hole roughly one foot square and one foot deep.
Dump the soil onto your tarp.
Break the soil apart gently with your hands and count every earthworm you find. Don't rush. Small pale worms often curl up inside soil clumps, so break the clumps apart with your fingers as you go.
Note what you see beyond the count: Are there visible burrows in the hole walls? Old root channels? A dark topsoil layer, and how deep does it go? Does the soil smell earthy and sweet, or sour and flat? Are there other critters around, like beetles, centipedes, or springtails?
Repeat in two or three more spots across the field and average your counts. One hole is a data point; three or four will paint a clear picture.
While you're there, do the squeeze test too: grab a handful of topsoil and gently squeeze. Healthy soil should form a loose ball that breaks apart into crumbs when you poke it. If it ribbons out like clay or falls apart like dust, that's part of the story.
What the Numbers Mean
There's no single magic number, because earthworm populations vary by soil type, climate, and region. Most published benchmarks come from research in cooler, wetter, year-round-moist climates. UC SAREP notes thatCalifornia agricultural soils tend to have smaller earthworm populations that are active for shorter periods than the temperate-region literature implies, so California growers should expect their counts to run a little below the national thresholds even on well-managed ground. Trust your year-over-year trend more than any single benchmark.
That said, the rough field benchmarks most extension services use look something like this (NRCS pegs the "good" threshold at about 100 worms per square meter, which works out to roughly 9–10 per square foot):
Fewer than 5 worms per cubic foot: Low. Something is limiting them. Common culprits are frequent tillage, bare ground, compaction, low organic matter, drought stress, or pesticide and herbicide residue. Sandy soils naturally support fewer worms than loams, so factor that in. In California, this range can also reflect a normal dry-climate population, especially late in the sampling window.
5 to 10 worms per cubic foot: Moderate. You've got a functioning population but room to improve. Most conventionally managed cropland lands here, and many California orchards and vineyards with some floor cover will too.
10 or more worms per cubic foot: Good to excellent. This is what you'd expect from a long-established orchard or vineyard with a permanent cover crop floor, a well-managed no-till field, or any system with diverse cover and minimal disturbance. Some healthy perennial systems will turn up 20 or more.
Knowing Which Worms You're Looking At
Not all earthworms do the same job, and the mix you find tells you more than the total count does. There arethree ecological groups, and a healthy soil generally has all three.
Epigeic (surface dwellers). Small, usually 1–3 inches long, often reddish or reddish-brown with darker pigmentation on top. You'll find them in the residue layer and the top inch or two of soil, rarely deeper. They don't make permanent burrows. They eat decomposing leaves, manure, and surface litter. Red wigglers (the compost worm) are a famous example. If you have a thick residue layer and you're turning up lots of these, your surface decomposition cycle is humming.
Endogeic (topsoil dwellers). Small to medium, usually pale (gray, pinkish, pale blue, or unpigmented). They live in the top 4–12 inches and make horizontal, branching tunnels that they backfill as they go. They eat mineral soil and the organic matter mixed into it. These are the workhorses of nutrient cycling in the root zone and they're the most common type you'll turn up in a typical shovel test. Lots of pale, smallish worms in the middle of your hole is a good sign.
Anecic (deep burrowers). Large, often 4–8 inches or more, with a dark head and a paler tail. The common nightcrawler is the classic example. They build permanent vertical burrows that can go 3–6 feet deep, and they come to the surface at night to pull leaves and residue down into their burrows. These worms build the macropores that do real water-infiltration work. They're also the slowest to recover after disturbance, because they rely on permanent infrastructure.
If your shovel test turns up only small pale worms and no big nightcrawlers, you've got endogeic activity but you're missing the deep burrowers. That's typical of recently transitioned ground or fields that have been tilled for decades. The anecics are usually the last group to come back.
A note on California species. Most of the earthworm literature describes European Lumbricidae, the introduced species that came over with European settlers, including the common nightcrawler (Lumbricus terrestris). California also hasnative earthworms in the genera Argilophilus and Diplocardia, which tolerate drier soils and lower-quality food than the introduced species and are extremely sensitive to soil disturbance. They're more often found in undisturbed wildland soils than tilled cropland. If you're managing ground with native earthworm populations nearby, a low-disturbance system gives them a chance to return.
Reading the Field, Not Just the Hole
Once you start paying attention, you can read worm activity without ever putting a shovel in the ground. A few signs worth knowing:
Middens. If you walk an orchard or vineyard on a damp morning during the rainy season, look for small piles of partially-buried plant residue: bits of leaf, stem, or stubble pulled into a tight little heap maybe an inch or two across. That's a midden, and it's the entrance to a nightcrawler burrow. The worm drags surface material down at night and caches it at the burrow mouth to soften before eating. Middens indicate a healthy anecic population. In California you'll see them best from late winter through spring on undisturbed ground; by midsummer the surface is dry and worm activity has moved deep.
Castings on the surface. Small mounds or coils of soil pellets on the surface, especially after a rain, indicate active feeding from below. Casting-rich ground often has a slightly bumpy texture you can feel underfoot. The castings themselves are nutrient hotspots, significantly higher in available N, P, K, and calcium than the bulk soil around them.
Burrow walls in the test hole. When you cut a clean face with your spade, look at the vertical wall of the hole before you break it apart. Round, smooth, often glazed-looking holes running vertically are anecic burrows. Smaller, more horizontal channels are endogeic. A field with visible burrows on the cut face is one with real structure; a field where the cut face is solid and featureless is one where water has nowhere to go.
The "brown frosting" layer. In long-term no-till or perennial ground, you'll often see a dark, crumbly, almost greasy-looking layer right under the residue, sometimes only a quarter-inch thick, sometimes an inch or more. That's a worm-worked layer of mixed castings, mucus, and partially decomposed residue. It's one of the most visually obvious markers of a soil that's been left alone long enough to build a real biological surface.
Birds and digging mammals. Not joking. Turkeys, skunks and raccoons love grubs and worms. If you’ve got lots of critters feasting on the soil ecosystem, it’s a sign of health. Frustrating, when in the wrong context, but an indicator nonetheless!
How to Improve Earthworm Habitat
If your counts are lower than you'd like, the expansive soil-health playbook gives you plenty of tools to choose from. Choose one or more, to create worm-friendly habitat.
Keep something living and rooted in the ground as much of the year as possible. In an orchard or vineyard, this comes down to floor management. The trees and vines give you a permanent perennial layer, but the alley and middles spend a lot of the year either bare (under clean cultivation) or growing cover. Cover-cropping feeds your soil biology, and your worms. Maintaining living roots and soil cover for more of the year, creates optimal conditions for worms.
Reduce floor disturbance. This is the single biggest lever for most operations. Every pass with a disc, French plow, or in-row cultivator destroys burrows, slices worms in half, and exposes the soil to drying.NRCS reports that no-till fields commonly support two to three times the earthworm population of conventionally tilled fields, and that deep-burrowing nightcrawlers can disappear entirely from cultivated ground because their permanent burrows get destroyed every pass. In orchards and vineyards, mowing rather than discing the cover crop, and minimizing in-row cultivation, both go a long way.
Keep the soil covered, especially during the wet season. Bare ground bakes, dries, and erodes, all of which push worms deeper or kill them outright. In California, the priority is keeping cover on the ground from the first fall rains through late spring, the window when worms are actually active near the surface. Residue, living mulch, or cover crop biomass during these months keeps surface temperatures and moisture in the range worms can tolerate, and protects them when winter rains hit.
Feed them. Worms eat organic matter, so adding compost, leaving prunings and cover crop residue in place, mowing rather than removing biomass, or simply growing more cover crop tonnage all help. Systems that strip every bit of carbon off the floor (clean cultivation, residue removed, no compost or amendment back) tend to starve worm populations over time.
What to Do With Your Results
Write your counts down with the date, location, and conditions. Do the test again the following late winter or spring and compare. The point isn't to hit a number. It's to see whether what you're doing is moving the needle in the right direction.
If you're transitioning to no-till floor management, adding cover where there wasn't any, or moving from annual to perennial cover, the worm count tends to be one of the earlier biological indicators to respond, often noticeably sooner than lab tests pick up shifts in organic matter or aggregate stability. How quickly varies a lot with starting conditions, climate, and which species are present (anecic populations, in particular, can be slow to recover), but a year-over-year trend usually shows up well before slower indicators do.
It's about as honest a report card as the soil will give you, and it costs you nothing but ten minutes and a shovel.
Have you done a shovel test on your ground? Email us with your counts, observations and some wormy pics! We'd love to compare notes across the Cooperative.
Further Reading
For members who want to go deeper on earthworms and soil health:
USDA Natural Resources Conservation Service,Soil Quality Indicators: Earthworms (2009). Source for the benchmark of "100 earthworms/m² is considered good" (roughly 9–10 per square foot), the two-to-three-times no-till multiplier, the list of harmful carbamate insecticides, and the three-group ecological classification (litter-dwellers, mineral soil-dwellers, deep soil-burrowers).
Michigan State University Extension,Earthworms can be an indicator of soil health (2016). Source for the one-square-foot, 12-inch-deep shovel test protocol and the importance of moist soil conditions for accurate counts.
Fonte, S. J., et al. (2009).Earthworm populations in relation to soil organic matter dynamics and management in California tomato cropping systems. Applied Soil Ecology. Source for the February-to-April sampling window appropriate for California's Mediterranean climate, based on field research in Yolo and Solano Counties.
GLUSEEN (Global Urban Soil Ecological and Educational Network),Earthworm Sampling Protocol. Source for the recommendation to sample at the end of the wet season in regions with distinct dry and wet seasons.
UC SAREP (University of California Sustainable Agriculture Research and Education Program),Earthworm Information. Source for the observation that California agricultural soils tend to support smaller, shorter-active earthworm populations than temperate-region literature suggests, and for the specific warning about ammonium sulfate fertilizer.
UC ANR,Earthworm Ecology in California (UC Oaks). Source for information on California native earthworm genera (Argilophilus, Diplocardia) and their sensitivity to soil disturbance.
UC ANR,Cover Cropping in Orchards and Vineyards. Source for the three-tier framework (winter annuals, self-reseeding annuals, and perennial cover) used in California orchard and vineyard floor management, including specific species recommendations and the use of perennial cover on vigorous sites.
Oakville Bluegrass Cooperative,Oakville Bluegrass. Source for information on Oakville bluegrass as a permanent reverse-season perennial cover crop for California orchards and vineyards, including its dormancy cycle, low-input maintenance requirements, and suitability for non-irrigated sites.
AHDB (Agriculture and Horticulture Development Board, UK),How to count earthworms. A practical field guide to identifying earthworms by ecological group, including how to use the saddle (clitellum) to distinguish adults from juveniles.
Community Alliance with Family Farmers (CAFF),Cover Crops. California-focused overview of cover crop species, soil carbon benefits in Mediterranean climates, and CAFF's grower demonstration projects.
Stroud, J. L. (2019). Soil health pilot study in England: Outcomes from an on-farm earthworm survey. A peer-reviewed look at on-farm earthworm sampling results across diverse arable systems, including the W-pattern multi-pit sampling approach and productivity benchmarks.
Edwards, C. A., & Bohlen, P. J. (1996). Biology and Ecology of Earthworms. Chapman & Hall. The standard textbook reference for earthworm biology, ecology, and the anecic / endogeic / epigeic classification.
Cornell Soil Health Laboratory, Comprehensive Assessment of Soil Health Manual. A broader reference for in-field soil health assessment, including but not limited to earthworms.
Oakville Bluegrass Cooperative, Oakville Bluegrass Grower's Guide. A practical guide to establishing and managing Oakville bluegrass as a permanent cover crop in almond orchards and vineyards.
A note on regional variation: earthworm benchmarks vary with soil texture, climate, and species composition. Sandy soils naturally support fewer worms than silt loams regardless of management, and parts of the upper Midwest and Northeast have ecological concerns about non-native earthworms in forest systems that don't apply to California agricultural ground. Treat published benchmarks as orienting figures, not hard cutoffs, and trust your own trend line over time more than any single number.